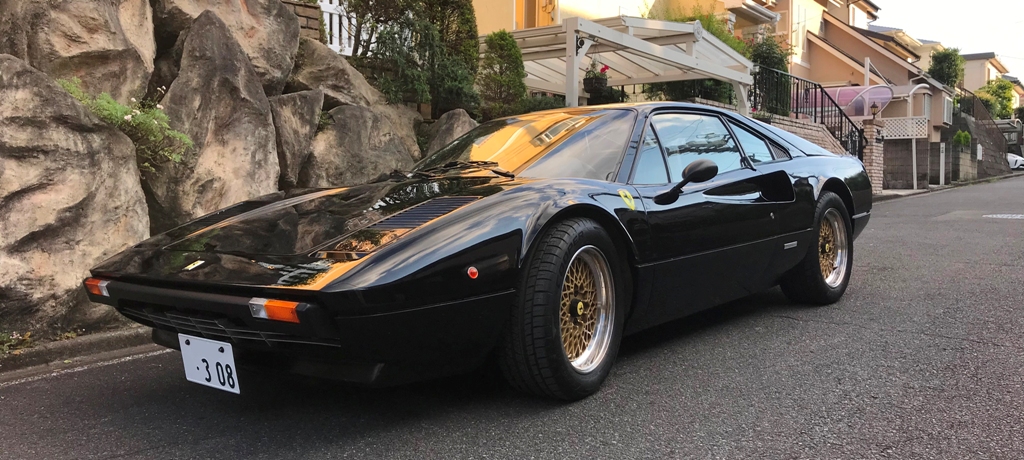
As you know, the original fuse box of the Ferrari 308 is made by rivet fastening method to hold copper terminals and uses bullet type fuses, resulting the contact failure due to time decay. e.g.
it occurs the malfunction of;
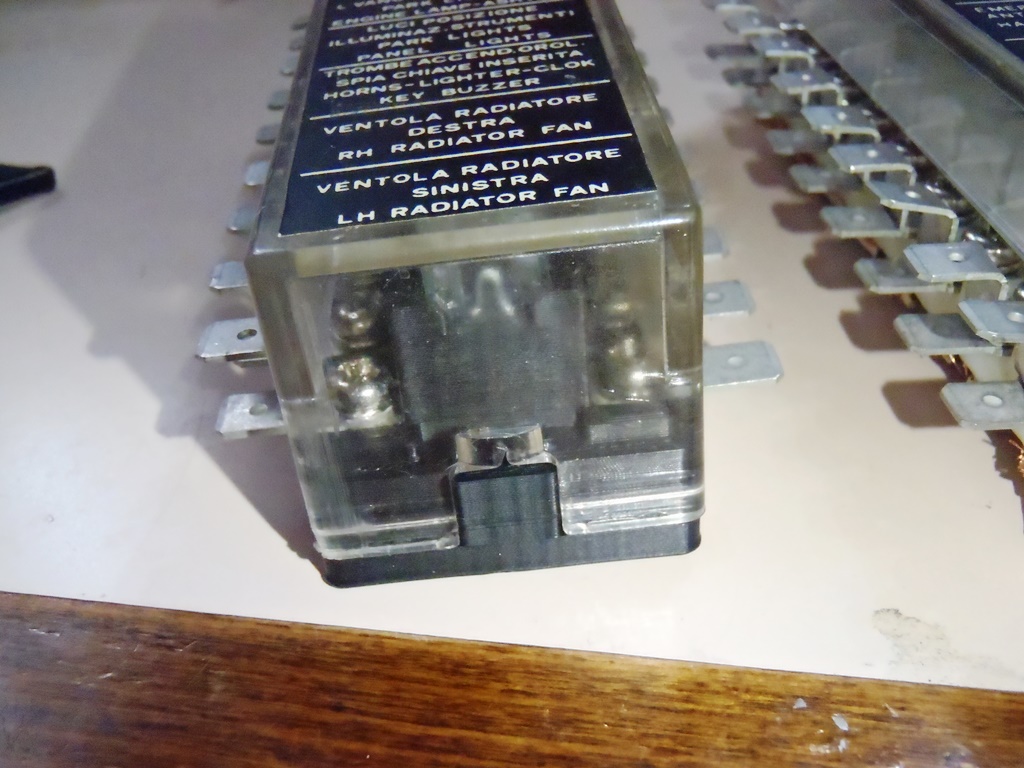
– meter panels,
– Radiator fans,
– Lights
and so on.
There are some improved fuse boxes in the after market, but the price of them is over $350 and also I cannot find the proper ones on which the original transparent lids can fit. In order to keep the original appearance, I decided to make it using 3D CAD and 3D printer. After making some prototypes, as now I have got satisfied ones. My friends also are satisfied with them, so now I sell this as the product to you.
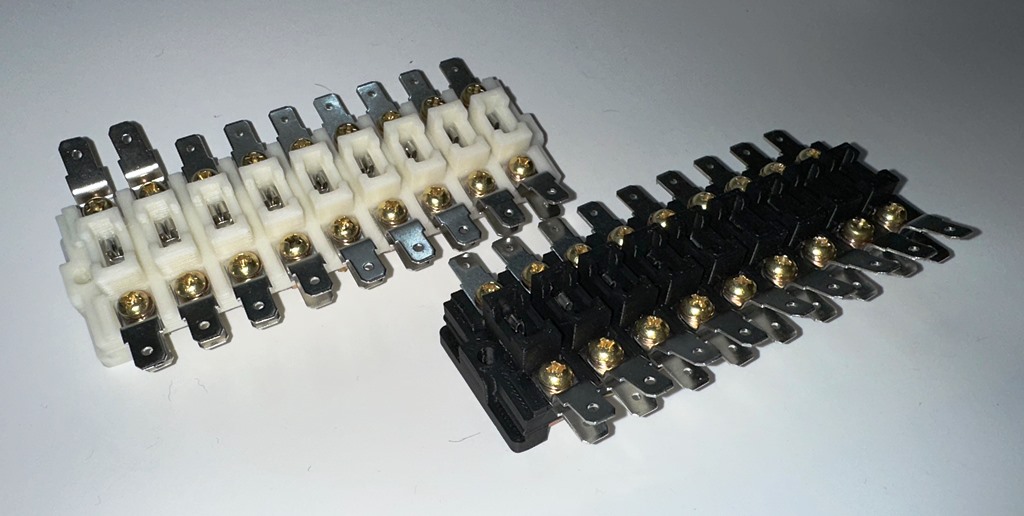
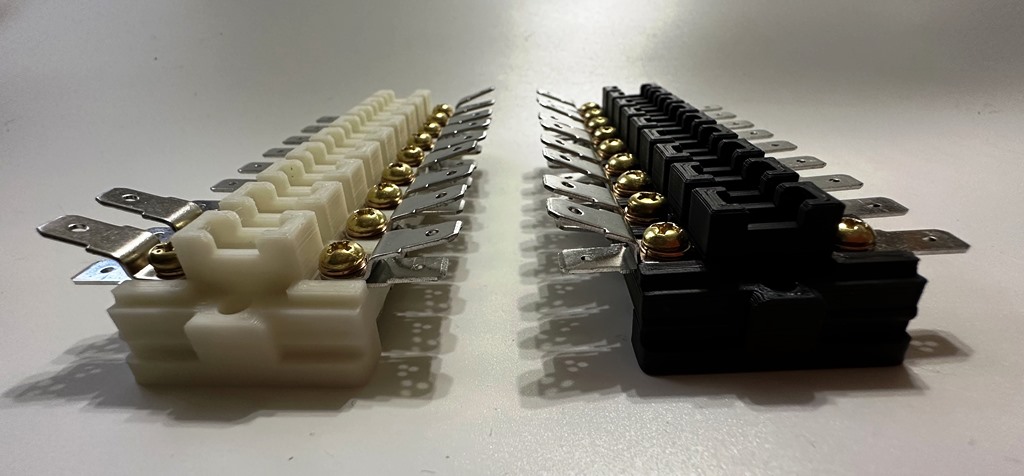
Mini blade type fuse box set
Product Price $285 + Shipping Cost
(in case of USA, the shipping cost is estimated at $30. I will let you know the correct cost when you order.)
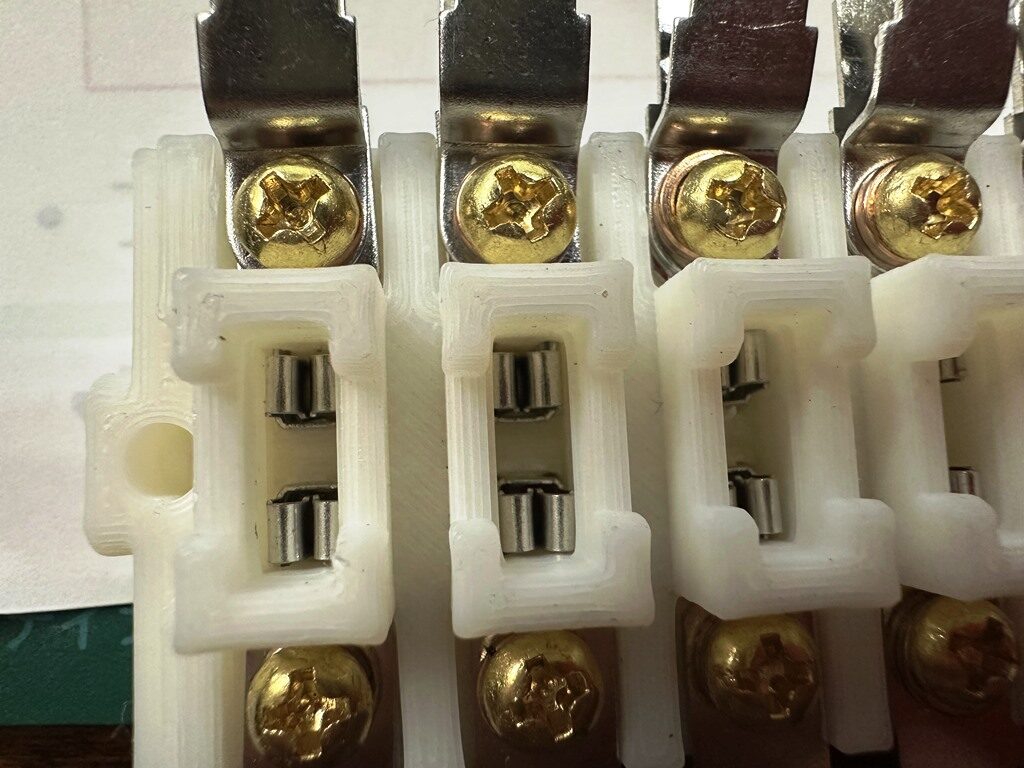
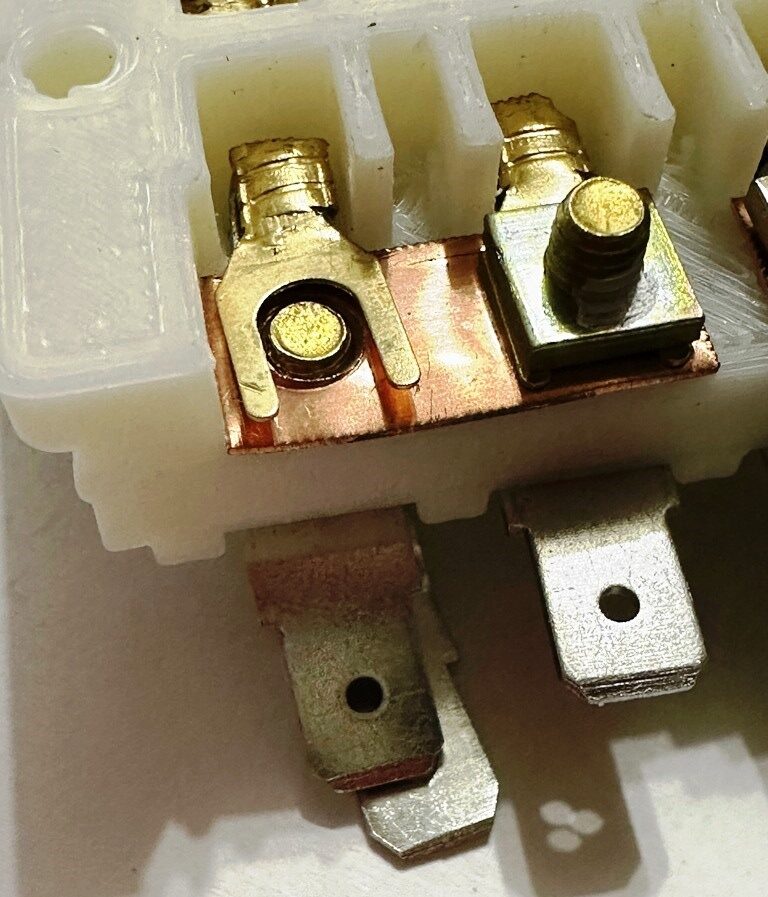
It was designed using 3D-CAD after taking apart the actual mini blade box and measuring it. It is printed out by 3D-Printer using the material of the base is ABS.
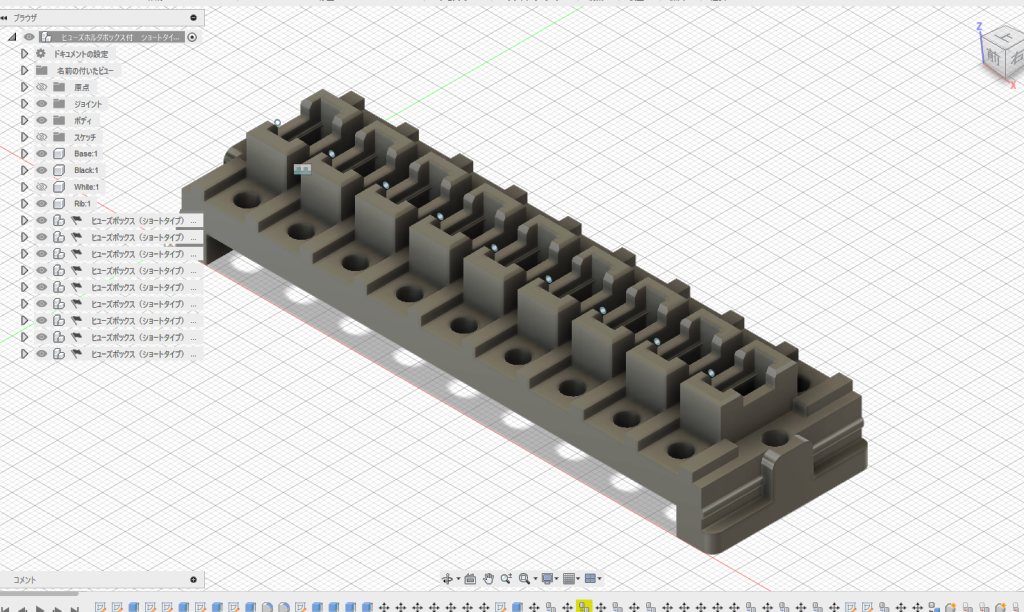
Also, there are a rib on the back side to increase its strength although the original does not have it.
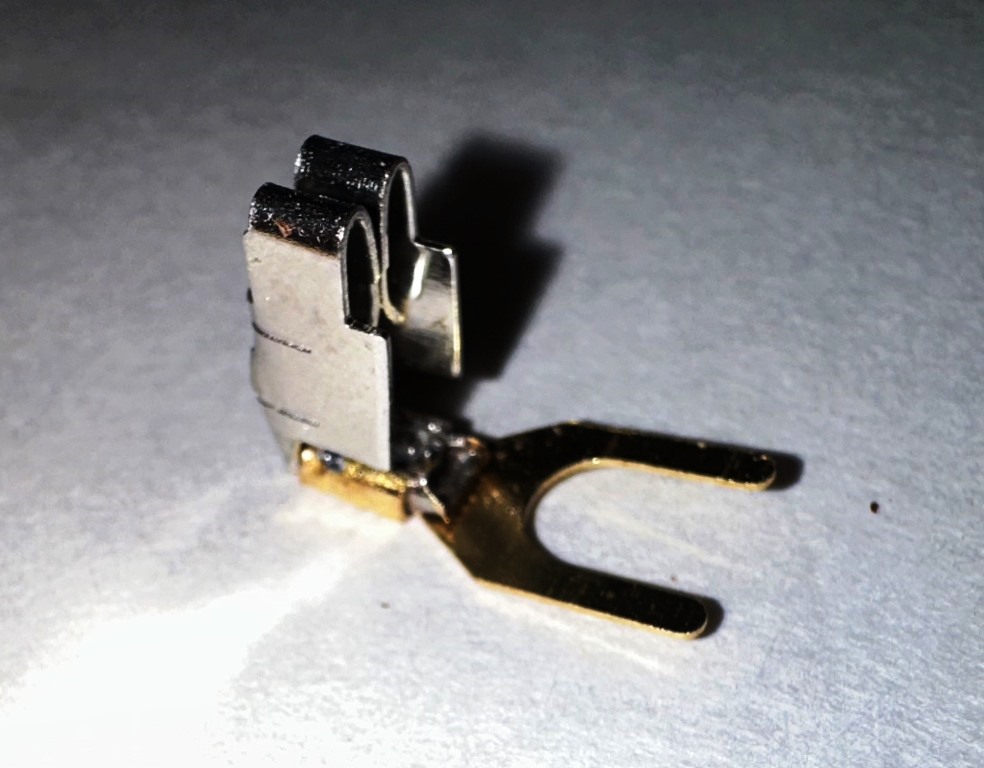
For better fitting, I processed the fuse terminal like this.
The original transparent lid will perfectly fit as it is. So I do think the appearance will not change so much even if you install them.
Order Procedure
- Fill the necessary information into the following order form and submit,
- The confirmation mail is sent with the shipping cost estimate and payment method information,
- If you agree with it, please send the reply and I start assembling them,
- The notification mail will be sent to you after assembling them,
- The items will be ship just after the confirmation of your payment.
Payment method: money transfer to the account of US Bank or Wise. (I am afraid that Credit card payment is not acceptable.)
Order Form
If it does not work, please send the message to maedamin+fusebox@gmail.com?
User’s Voice
When I opened it, I was surprised to see that it looked like a genuine Ferrari product! Well, it's an amazing accomplishment. It doesn't seem like a 3D printer.
I was really surprised because I was imagining a prototype.
I will install it once the cab work is done.
Thanks!
I Installed it today. First of all, it doesn’t feel handmade at all due to its quality finish.

Impressions
After starting the engine, the engine sound and exhaust note have clearly become more powerful. The metallic engine sound when revving up has also intensified, giving a really great impression.
The flashers now work faster, and the turn signal indicator lights on the dashboard have become brighter.
When the headlights are on, the previously dim dashboard is noticeably brighter than before.
I’ve written at length, but this clearly indicates that the electrical flow has significantly improved.
The sense of reassurance is on a whole other level. Thank you very much!
How to install the Fuse Boxes
Please refer to the this site.
Causes of fuse box deterioration (Consideration)
I suppose the deterioration would be cause by something like this:
- When the fuse boxes gets old, an oxide film forms on the fuse terminals.
- The electrical resistance increases and the temperature increases. (Especially the high current fuse part)
- The fuse mount will be deformed due to heat and melt.
- The rivets that secure the terminals will loosen.
- Poor electrical contact gets occurs here and there. It also has a heat.
Then, it becomes a vicious cycle.
In the case of the torpedo/bullet type fuse, it is likely that resistance will occur because it is a line contact.
I think it is OK as long as you clean it frequently, but if the mount is already starting to melt, it’s probably a loose rivet.
Therefore, this time, I applied electrical contact grease to each part and used conductive adhesive to prevent any contact failure.